Monday, 24 June 2013

A Gluttonous Carrot Cake


Have you ever had those days when you make (or buy) a cake, cut yourself the smallest slice and then find yourself helping to another, and another... Only to result in you sitting on the couch (if you can call it sitting) moaning to the cake gods in agony "why?? Why did you make me eat so much cake??" While they laugh at your stupidity for being so weak... This was me... Last night... One day after making the most delicious carrot cake I have ever had!


That is a bold statement I know. But I can usually resist a cake. Ill eat a slice and share the rest with friends. It's rare that I'll have more than one because I bake so often.. I'd be the size of a house! This cake was ever so moorish though. However, it is very rich, leaving me with a stomach full of regret in the aftermath, so use your carrot cake cautiously... Control your friends and family... Do not let them eat the whole cake. Make them wait until the first slice reaches their tummy. Or they, like me, will be comatose on the couch after a cream cheese OD! Ever had a brain freeze? It was like that, but a whole body freeze, and it was heavenly!


Already I am being begged to make another after everyone devoured the first!


Hands down the best cake I have ever made! 
Enjoy the recipe below, remember, use it wisely....


Carrot Cake

300g Brown Sugar
3 Eggs
300ml Canola Oil
300g Plain Flour
1 teaspoon Bi-carb Soda
1 teaspoon Baking Powder
1 teaspoon Cinnamon
1/2 teaspoon Ground Ginger
1/2 teaspoon Salt
1/2 teaspoon Vanilla Extract
300g Grated Carrots
100g Shelled Walnuts, chopped

icing;
600g Icing Sugar
100g Unsalted Butter
300g Light Cream Cheese

1. Preheat over to 170 degrees Celsius

2. Place sugar, eggs and oil in a mixer on medium speed until combined.

3. Add flour, bi-carb, baking powder, cinnamon, ginger, salt and vanilla and beat on med-high until smooth.

4. Turn mixer to low and add carrots.

5. By hand, stir in the walnuts.

6. Pour mixture into two prepared cake tins and bake for approx 20 mins until a knife comes out with some crumbs attached. If it comes out completely clean, usually it ends up slightly dry or overcooked.

7. Leave cakes in tins to cool until room temperature then transfer to a wire rack to cool.

8.  For the icing: beat butter and sugar until light. Add cream cheese and beat until smooth. Turn mixer to high and continue to beat for at least 6 minutes until icing is light and fluffy.

9. Spread icing over the top of the base cake. Add the second cake and use remaining icing to cover cake. Decorate with left over walnuts and sprinkle with cinnamon.

Happy Baking!!!...


Saturday, 22 June 2013

Chocolate Coconut Balls


It's an old favorite. Everyone loves a good rum ball... Everyone!
But I wanted to make a cute little treat for work and putting alcohol in it probably would have been frowned upon. (Especially the copious amount i usually add :))


So please enjoy my child friendly recipe for chocolate rum balls minus the rum. Try not to eat them all before you share... I struggle.


Chocolate Balls:

1 packet Marie biscuits
400g sweetened condensed milk
1 Tablespoons cocoa
1 cup desiccated coconut

1. Crush biscuits in a food processor

2. Add 1/2 cup coconut and the cocoa then mix well.

3. Add the condensed milk and stir until well combined.

4. Roll into balls, approx 1 tablespoon each.

5. Roll the balls in the remainder of the coconut the refrigerate for at least 1 hour before serving.

Enjoy! And Happy Baking!!

Wednesday, 22 May 2013

Deliciously Tangy Lemon Slice


I had one of those difficult days where I was like... I feel like making something, but I don't feel like cooking, but I feel like something cakey, but nothing to rich... And it when on and on until sister S turns around and says "Get over it already.. Make me a lemon slice."


My eyes lit up. I LOVE lemon slice! And I was yet to venture into slice territory. You know I've forever been comfortable in cupcake zone.


So lemon slice it was. I loved that instead of placing it in the oven, your tray goes in the fridge. You can sit and relax or concentrate on the icing. The world will not fall apart if you don't check on it regularly. The whole dish will not be ruined if its in the fridge for a minute too long! This was like heaven! A new world of dessert where I don't have to treat my creation so carefully because all could fall apart at any given moment if I get distracted. I was almost ready to give up the oven forever.


Of course I then discovered that the icing has to be done on stove top. Carly and stove tops have never mixed well. I'm sure that I have previously mentioned almost burning down my house trying to make caramel in my pre-blog days. You all know about the Tarte Tartin episode (if you don't you can click here to read). The feeling of dread always washes over me when it's stove time. I love and appreciate that S and lovely Mummy Dawn cook me dinner most nights that I'm home (needless to say, I visit Mummy Dawn's a lot).


I looked at the little saucepan sitting on the hot plate beckoning me closer. Teasing me with flashbacks of my prior disasters. Needless to say I stirred my icing with fear. Every 10 seconds I would think should I take it off now? What if any longer is too long? As I'm sure you've guessed, my prior failures have been due to not removing my creation from the stove early enough. 

I took it off a little too soon. This didn't affect the taste, thankfully, but did make spreading the icing over the base a very muscle based task. It set very quickly. And the coconut probably didn't stick as well as it ought to. But those were minor hiccups. I was so proud of my lovely slice. The first of many to come I am sure!


Enjoy the recipe for yourself!

Lemon Slice

80g Butter
250g Sweetened Condensed Milk
250g Nice Biscuits
85g Desiccated Coconut
1 tbsp Lemon Juice

icing
250g icing sugar
2 tbsp Lemon Juice
1 1/2 tbsp Desiccated Coconut

1. Grease a slice pan and line with baking paper

2. Place butter and condensed milk in a saucepan on low heat and stir. Remove from heat when butter has melted and mixture is smooth.

3. Place biscuits in a food processor. Stir the crushed biscuits and coconut together.

4. Stir lemon juice into the milk mixture

5. Mix wet and dry ingredients together. Stir well. The mixture should appear quite wet.

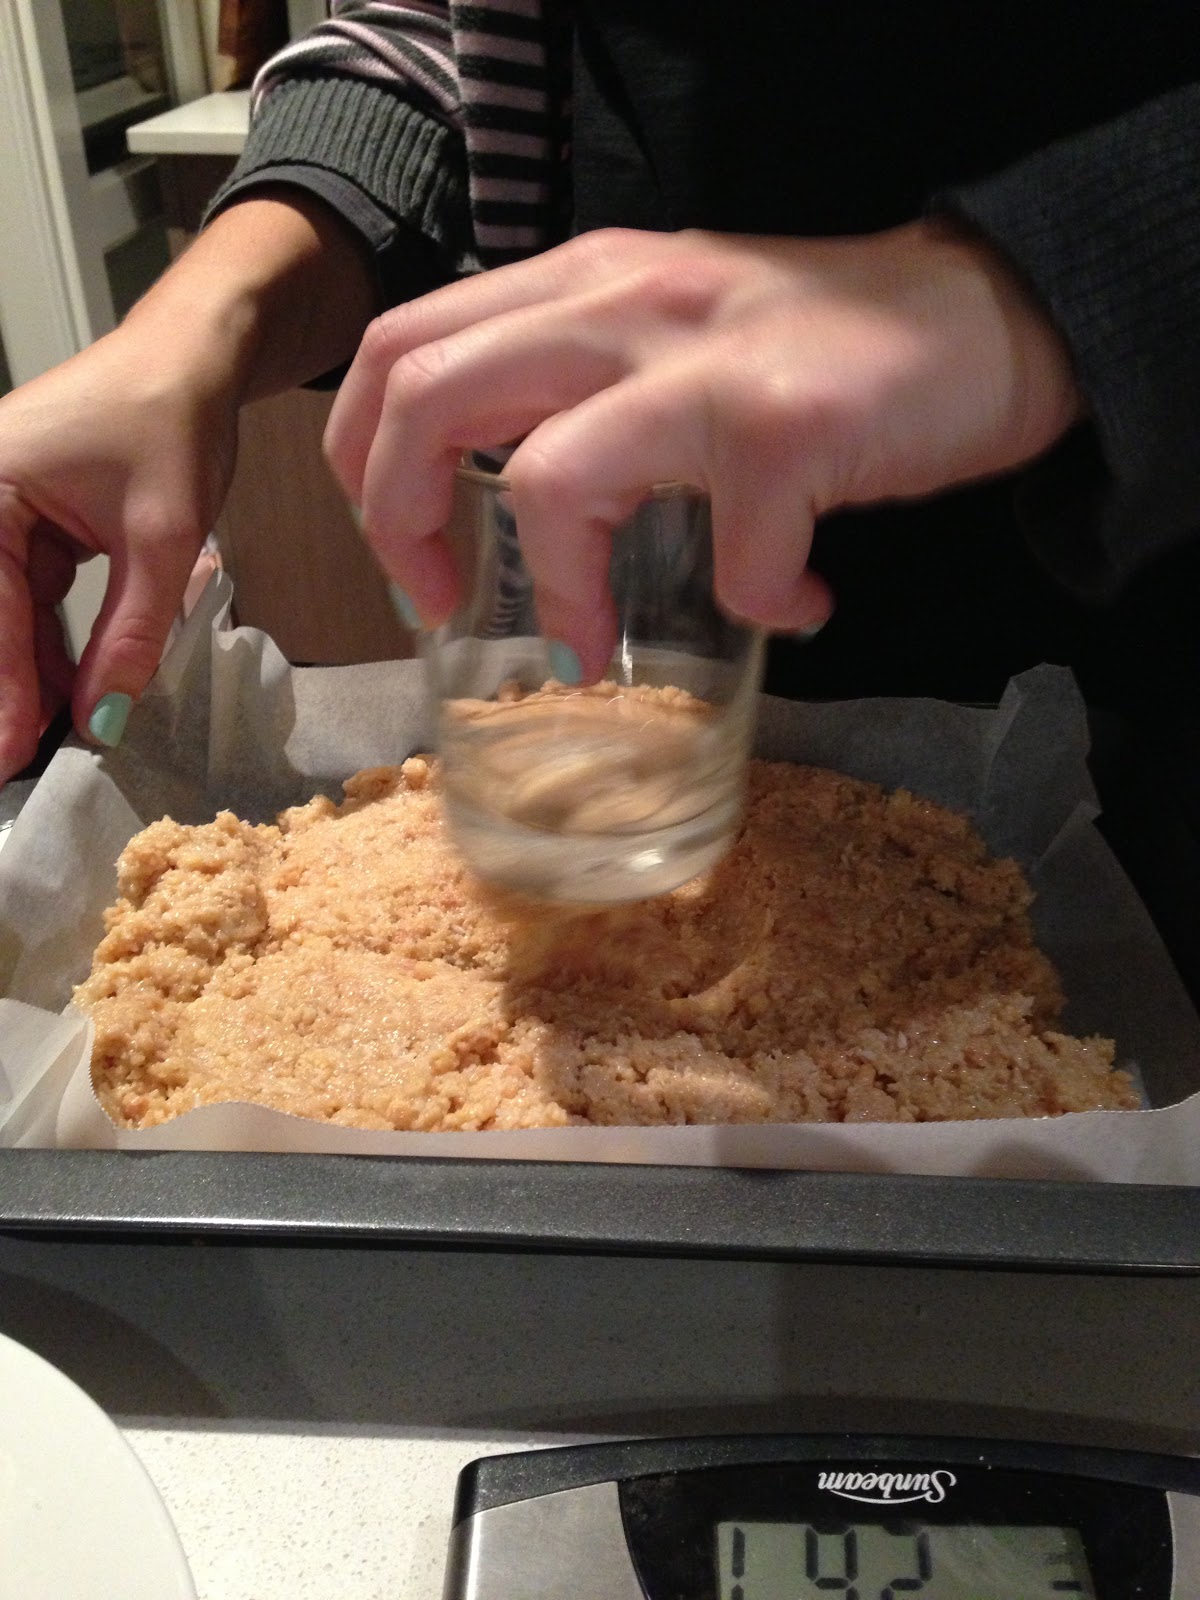
6. Press mixture into the pan. Use a flat bottomed glass to squish it down firmly.

7. Refrigerate while preparing the icing.

8. Combine icing sugar and lemon juice in a saucepan on a low heat. Stir until mixture is warm and smooth. Immediately spread over the base then sprinkle with coconut.

Happy Baking!!!


Thursday, 16 May 2013

Have a drink... Or two or three... At Madame Brussels in Melbourne


With this month being all about comfort I felt as though it was my duty to go out on the town last night and find yet another source of what brings me comfort...

I soon settled on jugs of cocktails at Madame Brussels in Bourke St, Melbourne.


There are not many events that can compete with catching up with your two best friends for a night of laughs and stumbling home at 5:00 in the morning.


Now I am not one to indulge in this comfort often. While I love a glass of wine with dinner or a piƱa colada on holiday I will admit that I rarely go out drinking. I have been put off by the sights I have seen, while working in hospitality, of girls stumbling around showing their undies and making a fool of themselves. Seeing it on a daily basis is enough to put you off.

But last night i went out and had an absolute ball.


But back on topic... A night out fuelled with lovely cocktails is a must do for every girl with her girlfriends on a reasonably regular basis. It's so effective for bonding and talking about the things that you so want to discuss but just don't have the guts to sober.

I found that even my straight guy friends have enjoyed it in a group setting. Last night was myself, my best girlfriend (L) and our long time guy friend and I think he enjoyed himself most of all...


Madame Brussels is the perfect setting for such a night. We drank until the place closed at 1:30, which I must say is a little early for a Friday night, but enjoyable none the less. And danced the rest of the night away in a bar...

So go out, indulge in a few cocktails and find your own comfort.

Madame Brussels on UrbanspoonOh, and happy baking!!!....

Friday, 3 May 2013

Nutella Cupcakes


Today's comfort food is a delicacy! Nutella Cupcakes...


What better way to spend a day than one spoon of Nutella for the cupcakes... one spoon of Nutella for me... I almost went through an entire 750g jar, when the recipe only calls for 80g and a few teaspoons full... oops.

A spoon full of Nutella is how the Mary Poppins song should have gone... because a spoonful of Nutella will make anything go down. It is the best way to fix what may have been a crappy day.


I am pleased to report that not one mishap occurred during today's baking session, hard to believe I know! I must be getting better at this after all.

Please enjoy, they are beyond delicious...


Nutella Cupcakes:
(Adapted from the Hummingbird Bakery Cookbook - makes 12 - 14)

45g of butter
100g plain flour
20g cocoa powder
140g caster sugar
1 1/2 teaspoons baking powder
a pinch of salt
120ml full cream milk
1 egg
A jar of Nutella - to put 1 tsp in the centre of each cake
Hazelnuts (1 each for inside the cupcakes and enough to decorate the tops)

icing:
250g icing sugar
80g butter
25ml full cream milk
80g Nutella

1. Preheat fan-forced oven to 190 degrees celcius and line muffin tray with cupcake liners.

2. Beat butter in mixer until light and fluffy.

3. Add flour, cocoa, sugar, baking powder and salt and mix on a low speed until the mixture looks crumbly.

4. With the mixer still on slow, gradually pour in the milk. Mix until well incorporated.

5. Add in the egg and beat until well combined.

6. Spoon the mixture into the cupcake liners, approx half full.

7. Place in oven for approx 20 mins. Skewer should come out with a few crumbs stuck. Remove and let cool in the tray until tray can be picked up with bare hands.

8. Leave cupcakes to cool completely on a wire rack.

9. When cupcakes have completely cooled insert a hazelnut into the middle of a cupcake followed by approx half a teaspoon of Nutella.

10. Beat the butter for the icing until light and fluffy. Add the icing sugar until well mixed. On a slow speed, pour in the milk then mix on high speed for at least 5 minutes until light and fluffy. The longer it is left to mix, the fluffier it will be. Stir the Nutella in slowly until well mixed.

11. Ice cupcakes and decorate with hazelnuts.

Happy Baking!


Thursday, 2 May 2013

Homemade Lemon Cake


I love moving house. I don't know if this has become ingrained due to moving a lot when I was younger but there is just something I find exciting about sorting through all the things you own (some you may have forgotten you owned) and finding them all little places in your new home, in your new life.


However, the thing I am finding about moving homes is that you have no idea about kitchen functionality and the more I learn about baking, the more I learn that no matter what you do, no two ovens appear to be the same. There are ever so slight differences in each kitchen that can seem like the biggest obstacles in the world when you are faced with them for the first time.


I experienced this frustration when I decided to bake a lemon cake in my new kitchen. I was making dessert for my family dinner that evening. Easy as pie... or so i thought...


The kitchen is bigger and better equipped than my last but it was new. The oven was new to me. I struggled. When the top looked as though it had been perfectly baked I pulled the tray slightly out to insert the skewer... The cake wobbled like jelly. It was still batter underneath that lovely golden top. I had to change the settings.


I took these frustrations to dinner with me and could not for the life of me spread the icing on my cake. I had to take the cake with un-iced as it still had needed to cool.

No matter what I did I was creating bald patches. I had to get my sister to help me out, and of course to add to my experience she did it perfectly the first time, thus proving that the method and recipe were perfect... It was me causing the disaster.


I chalked it all up to unfamiliar surroundings and figured hey, at least now S has had her time in the spotlight showing me up with her fantastic icing skills.

And not to stress we still ended up with a delicious lemon cake.
I felt it was a little drier than I would've liked but we're all our own worst critics after all, and it means that next time can only mean improvement. So below is my recipe for a delightful lemon cake... Please enjoy...


Lemon Cake:

250g butter
250g caster sugar
2 teaspoons grated lemon zest
1 teaspoon vanilla extract
4 eggs
250g self raising flour

icing:
45g butter
110g icing sugar
3 teaspoons lemon juice
2 teaspoons grated lemon zest

1. Preheat oven to 180 degrees celcius

2. Line a circular cake tin with baking paper.

3. Beat the butter and add the caster sugar, beating until light and fluffy.

4. Add the vanilla and lemon zest. Mix well.

5. Add the eggs, one at a time, until well incorporated.

6. With the mixer on a slow-medium speed, gradually add the flour, ensuring it is well mixed..

7. Pour into the cake tin and place in the oven for 45 mins. If it begins to brown early as mine did, you can cover loosely with aluminium foil to prevent burning.

8. When a skewer comes out with slight crumbs attached, remove from oven and leave in tin until cool to touch. Transfer to a wire rack until completely cooled.

9. For the icing; Beat the butter until light in color. Add the icing sugar gradually then the lemon juice and zest.

10. Spread generously over the cake and garnish with a curled slice of lemon peel.

Happy Baking!!


Wednesday, 1 May 2013

NaBloPoMo May 2013

NaBloPoMo May 2013

 Wish me luck all....

This month I have embarked on my very first NaBloPoMo! Ahhh!

For those of you, like myself until recently, who are going NaBlowhat?... NaBloPoMo stands for National Blog Posting Month.

This began with November being dedicatated as National Blog Month where bloggers are challenged to write one post each day for an entire month! Talk about a challenge! BlogHer runs a new theme each month for bloggers to test their skills and dedication.

The theme for this month is Comfort. It is all about what brings you comfort and how we achieve our own comfort zones.

My entire focus for the month will be Comfort Food. Just because there is no better type! So strap in for an entire month filled with cakes, eating out and all the foods that make me feel better, and will hopefully do the same for you...

What is your typical comfort food?

Happy Baking.